
Zenarmor installation under OPNsense 23.7
The functionality of the open source firewall OPNsense can be easily extended using the built-in plugin management. The list of OPNsense plugins is very extensive and also includes the Next Generation Firewall Plugin Zenarmor. This article shows the installation of this plugin.

Performing the installation of Zenarmor
The installation of the Zenarmor plugin under OPNsense is done in two steps. Follow the instructions below to install it.
Install package os-sunnyvalley
First install the os-sunnyvalley package, this will allow the subsequent installation of the Zenarmor components.
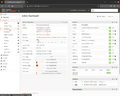
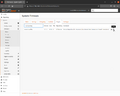
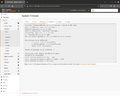
Click on System in the left menu and then on Firmware.
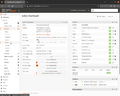
The menu folds out, now click on Plugins.
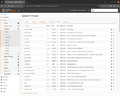
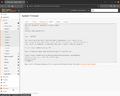
The Plugins tab of the Firmware menu is displayed. All installable packages or plugins are displayed.
The keyword "sunnyvalley" can be used to limit the display. Install this package first.
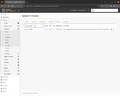
Click on the + symbol.
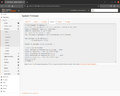
The display changes to the Updates tab and the package is installed.


Install package os-sensei
After that, the required components of Zenarmor will be installed.
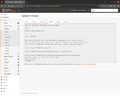
Switch back to the Plugins tab.
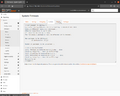
Find the entry os-sensei and click on the + in its line for installation. The package name has not been renamed to Zenarmor yet.
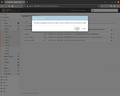
A hint that this is a plugin from an external vendor is displayed. Click on Install.
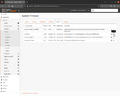
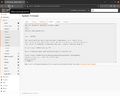
The necessary packages to run Zenarmor will be installed.
The installation of all required packages has been completed.
Reload the web interface.
Now a new item Zenarmor is displayed in the left menu. The installation is now complete. You can then perform the Zenarmor configuration.


References
 |
Author: Thomas Niedermeier Thomas Niedermeier working in the product management team at Thomas-Krenn, completed his bachelor's degree in business informatics at the Deggendorf University of Applied Sciences. Since 2013 Thomas is employed at Thomas-Krenn and takes care of OPNsense firewalls, the Thomas-Krenn-Wiki and firmware security updates.
|