
Zenarmor basic configuration and activate license
After the Zenarmor installation under OPNsense 23.7 is done, you can do the initial configuration. This article shows the required steps and explains how to activate a license.
Please note: The Screenshots were created with the Zenarmor version 1.14.5.

Zenarmor configuration
After successful installation you can configure the plugin.
-
 Starting from the OPNsense Dashboard, click on the Zenarmor menu item on the left. The submenus will be expanded.
 -
 Click on Dashboard.
 -
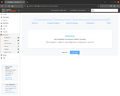
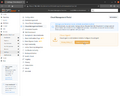
 If Zenarmor is not configured yet, this wizard will be displayed. In the first step, view and confirm the conditions and then click the I Agree button.
 -
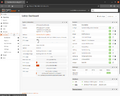
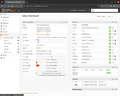
 In the second step, the hardware of the OPNsense appliance is now checked for suitability to run Zenarmor.
 -
 You can now choose different database types. For smaller firewall appliances, the MongoDB database is recommended. For high-performance firewalls, an Elasticsearch database is good. However, you can also reduce the load on the firewall by outsourcing the database externally via Use a Remote Elasticsearch Database.
 -
 In this example a local MongoDB database is installed, then click on Install Database.
 -
 The installation process of the database is running.
 -
 Now the desired database is installed. Click on Next.
 -
 By default, Zenarmor would be installed in Routed Mode with emulated netmap driver.
 -
 In the dropdown menu Deployment mode' the different modes can be selected. When using Intel network cards, the native netmap driver can also be used. For Broadcom cards select the emulated mode.
 -
 In this case Zenarmor will be activated on the LAN interface in routed mode with native netmap driver.
 -
 After that click on Next.
 -
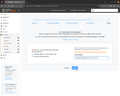
 Finally, you can use the software in the Free Edition (with reduced functionality), start a 15-day trial version of the Business Subscription (all Zenarmor functions), or enter your already existing Subscription Key. Then click on Next.
 -
 The installation is now almost complete. Click on Complete.
 -
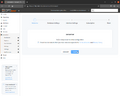
 Zenarmor is configured.
 -
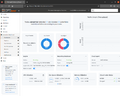
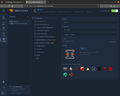
 After that, you will be taken to the Zenarmor plugin dashboard.


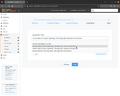
Start Zenarmor trial version
If you don't have a subscription yet, you can test the Zenarmor plugin for free.
-
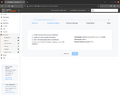
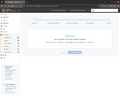
 Enter your email address and then click Next.

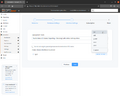
Activate license
During the initial setup of Zenarmor, you can of course also specify your Subscription Key right away.
-
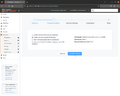
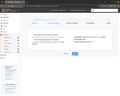
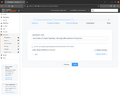
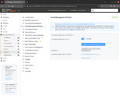
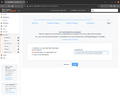 Select I already have my subscription key in the last step of the wizard and enter the key in the input field next to it. Then click on Next.
 -
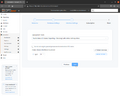
 Click on Complete.
 -
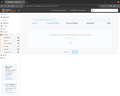
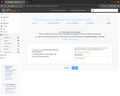
 Zenarmor is configured.
 -
 The Zenarmor dashboard is finally displayed.


Activate Zenarmor Cloud
Zenarmor offers convenient remote access to the Zenarmor instance on your firewall via the cloud. You can configure this feature via the Zenarmor menu in the OPNsense web interface.
-
 In the left menu, go to Zenarmor, then Settings and then the menu item Cloud Management Portal. Click on the Install & Configure button.
 -
 The Cloud Agent will be installed.
 -
 The Cloud Agent is activated.
 -
 Click on Register to Cloud Management Portal. A second tab will then open.
 -
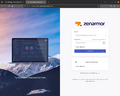
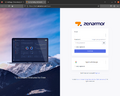 The Zenarmor Cloud is called up. Log in with your access data. You can also register for the first time in this step.
 -
 Enter your credentials and click Continue.
 -
 The Zenarmor instance Node 1' is displayed. It takes a few moments for the node to show as connected.
 -
 Node 1 is now shown as connected and Zenarmor settings can now be managed via the cloud.


References
 |
Author: Thomas Niedermeier Thomas Niedermeier working in the product management team at Thomas-Krenn, completed his bachelor's degree in business informatics at the Deggendorf University of Applied Sciences. Since 2013 Thomas is employed at Thomas-Krenn and takes care of OPNsense firewalls, the Thomas-Krenn-Wiki and firmware security updates.
|