
Install Ubuntu from a USB flash drive
The following article describes how to install Ubuntu from a USB flash drive if there is no CD or DVD drive available. The USB flash drive used is prepared under Windows with the Linux Live USB Creator.
Requirements
Following components are required to install Ubuntu:
- A USB flash drive with 4 - 8 GB memory (depending on the size of the ISO image)
- A Windows client system to prepare the USB flash drive
Installation preparation
First of all, you need to download the tool Linux Live USB Creator, which creates a bootable flash drive in five easy steps and at the same time integrates the ISO image.
Download Linux Live USB Creator (for Windows 10, 8.1, 7, Vista and XP):
- Download LiLi (www.linuxliveusb.com)
Installing Linux Live USB Creator
Proceed as illustrated in the following screenshots:
-
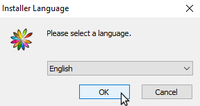 Select the language and press OK.
 -
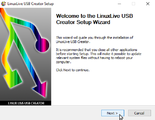 Click Next in the installation wizard.
 -
 Select your target directory and click Install.
 -
 The installation is running.
 -
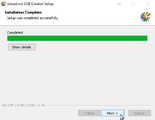 After the installation is complete, click Next.
 -
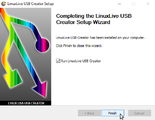 Now click on Finish.


Download ISO image
Afterwards, an Ubuntu ISO image must be downloaded:
- Get Ubuntu (www.ubuntu.com)
Create a bootable USB flash drive and include the ISO
Open the Linux Live USB Creator and do the following steps:
-
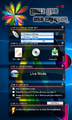 Select your USB flash drive in the upper section STEP 1: CHOOSE YOUR KEY.
 -
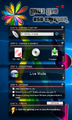 Now, in STEP 2: CHOOSE A SOURCE, pick your downloaded ISO image. Keep STEP 3 and STEP 4 like preconfigured. If you have inserted an NTFS formatted stick, please activate the checkbox Format stick with FAT32.
 -
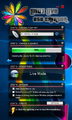 The selected ISO file is getting checked by Linux Live USB Creator.
 -
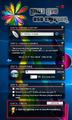 Now click on the flash sign in STEP 5 to create the bootable USB flash drive.


The ISO is now automatically applied to the flash drive, this can take a few minutes. Wait until this process is complete. You will then receive a message when the process is completed.
Start installation of Ubuntu
Now attach the flash drive to a USB port and press the "F11" key (for a Supermicro motherboard) during the boot process. As soon as the boot menu appears, select your stick and the installation will start.
.png.PNG)
Now proceed as illustrated in the following screenshot gallery:
-
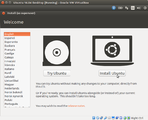 Select the language and click Install Ubuntu.
 -
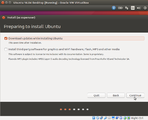 Check the Download updates during installation box and proceed with Continue.
 -
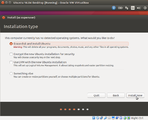 Select the radio button "Erase disk and install Ubuntu" and click Install Now.
 -
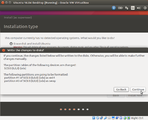 Confirm the message Write the changes to disk with Continue.
 -
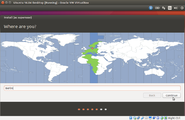 Set your location and click Continue.
 -
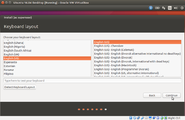 Choose the keyboard layout and proceed with Continue .
 -
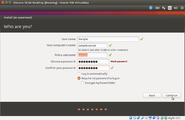 Create an user and define a password. Click on Continue.
 -
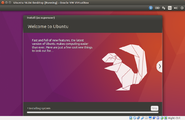 The installation process is started.
 -
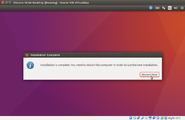 The installation is complete! Now click on Restart now.


As soon as the installation has been completed successfully, you can now log on to your system as usual.
 |
Author: Thomas Niedermeier Thomas Niedermeier working in the product management team at Thomas-Krenn, completed his bachelor's degree in business informatics at the Deggendorf University of Applied Sciences. Since 2013 Thomas is employed at Thomas-Krenn and takes care of OPNsense firewalls, the Thomas-Krenn-Wiki and firmware security updates.
|