

 wiki
wikiInstall OPNsense
OPNsense is an Open Source Firewall Distribution based on the FreeBSD operating system and its packet filter pf. In this article, we will show you how to install OPNsense and perform an initial configuration.

Download
The OPNsense download is available as 64-bit variant ('amd64 architecture) on the following page:
- OPNsense Download (opnsense.org).
In this manual we describe the installation in VGA mode. Therefore, download the appropriate package on the download page.
Installation
Use an empty USB stick for the installation.
Prepare USB stick
Unpack the installation image and transfer it to the USB stick using dd under Linux/BSD/MacOS or using balenaEtcher under Windows.[1] Under Linux, for example, execute the following commands (use the appropriate release name (e.g. 26.7) and the device name of your USB stick instead of /dev/sdX):
bunzip2 OPNsense-26.7-vga-amd64.img.bz2
sudo dd if=OPNsense-26.7-vga-amd64.img of=/dev/sdb bs=1M
sync
Perform installation
Then start your desired firewall server from this USB stick. OPNsense loads automatically as a live system. You can now start the installation either on the local console or via SSH. Since OPNsense 21.7, the installer now officially supports native ZFS installation.
-
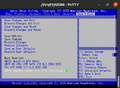 Select the USB stick in the BIOS via boot override.
 -
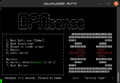 OPNsense boot screen is displayed, OPNsense loads automatically as a live system.
 -
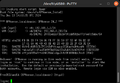 OPNsense is loaded. To start the installation, log in with the user name installer and the password opnsense.
 -
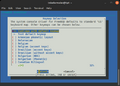 Continue with the default keyboard layout “US” or select a layout of your choice.
 -
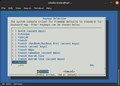 In this case, German is selected, confirm with ENTER.
 -
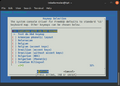 Confirm the keymap with ENTER.
 -
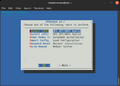 A ZFS installation is now recommended by default, but UFS can also be used for individual data carriers.
 -
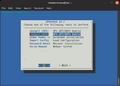 In these instructions, a UFS installation is carried out on a single data carrier.
 -
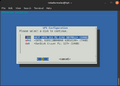 Select the target drive.
 -
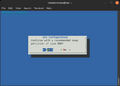 Adjust the swap setting if necessary and confirm this.
 -
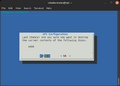 Confirm the message.
 -
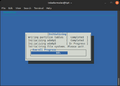 The initialization of the data carrier is running.
 -
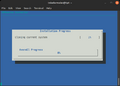 The installation is running.
 -
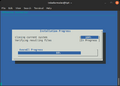 The verification was successfully completed.
 -
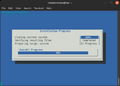 Now the target system is being prepared.
 -
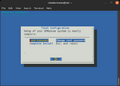 Now the final step of the installation takes place, change the password now.
 -
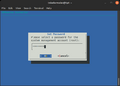 Enter a secure password.
 -
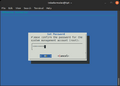 Confirm the new password.
 -
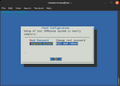 The installation is now complete.
 -
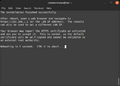 The system will now be restarted.


Configuration
After installation, you can easily configure OPNsense via a web browser:
-
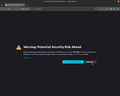 Warning message, because OPNsense has a self-signed certificate. Click on Advanced.
 -
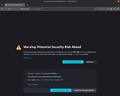 Accept self-signed certificate.
 -
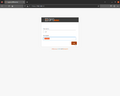 Login to the web interface (username root, password you have chosen before).
 -
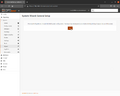 Click on Next.
 -
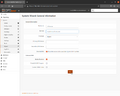 Make general settings.
 -
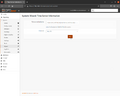 Configure NTP time server.
 -
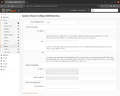 Configure WAN Interface (upper part).
 -
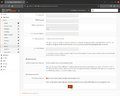 Configure WAN Interface (lower part). If a Private IP is used as the WAN IP, deactivate the option for RFC1918. This is the case in our example.
 -
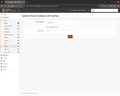 Configure LAN Interface.
 -
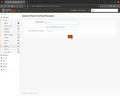 Set new password.
 -
 Reload configuration.
 -
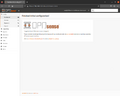 The configuration is complete.
 -
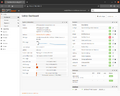 Dashboard view after configuration. If DHCPv6 is displayed in red and is not required, disable IPv6.
 -
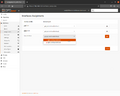 If required, under Interfaces -> Assignments, further interfaces can be set up.
 -
![If required, under Services -> DHCPv4 -> [LAN], the IP range of the DHCP server can be adjusted.](//www.thomas-krenn.com/de/wikiDE/images/thumb/4/4c/OPNsense-Wizard-13-Services-DHCP-Server.png/120px-OPNsense-Wizard-13-Services-DHCP-Server.png) If required, under Services -> DHCPv4 -> [LAN], the IP range of the DHCP server can be adjusted.
If required, under Services -> DHCPv4 -> [LAN], the IP range of the DHCP server can be adjusted.


![If required, under Services -> DHCPv4 -> [LAN], the IP range of the DHCP server can be adjusted.](/en/wiki/File:OPNsense-Wizard-13-Services-DHCP-Server.png)
Backup configuration
We recommend to backup the configuration after installation:
-
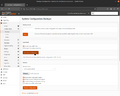 Under System -> Configuration -> Backups, you will find options for saving the configuration.
 -
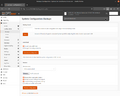 Click on Download configuration and save the configuration file locally.


References
- ↑ Initial Installation & Configuration (docs.opnsense.org)
 |
Author: Werner Fischer Werner Fischer, working in the Knowledge Transfer team at Thomas-Krenn, completed his studies of Computer and Media Security at FH Hagenberg in Austria. He is a regular speaker at many conferences like LinuxTag, OSMC, OSDC, LinuxCon, and author for various IT magazines. In his spare time he enjoys playing the piano and training for a good result at the annual Linz marathon relay.
|
 |
Author: Thomas Niedermeier Thomas Niedermeier working in the product management team at Thomas-Krenn, completed his bachelor's degree in business informatics at the Deggendorf University of Applied Sciences. Since 2013 Thomas is employed at Thomas-Krenn and takes care of OPNsense firewalls, the Thomas-Krenn-Wiki and firmware security updates.
|