Activating the Intel VT-d Virtualization Feature
Intel has been offering Intel Virtualization Technology for Directed I/O (Intel VT-d) as of the Nehalem micro-architecture (Xeon 34xx, 55xx and more systems, see Intel Microarchitecture Overview). We will describe how you can activate Intel VT-d from the BIOS in this article.
To use Intel VT-d, both the chipset and the BIOS must support VT-d. You will find additional details about Intel VT-d in the Overview of the Intel VT Virtualization Features article.
Intel MFS5520VI Compute Module Example
We will use an Intel MFS5520VI Compute Module with two Intel Xeon E5506 CPUs in the first example.
Deactivating VT-d
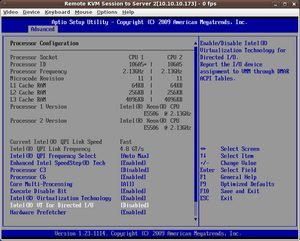
VT-d is disabled by default. You will find the setting for VT-d in the BIOS under Advanced --> Processor Configuration --> Intel(R) VT for Directed I/O.
The following helpful information will be displayed in the right column of this view:
Enable/Disable Intel (R)
Virtualization Technology for
Directed I/O.
Report the I/O device
assignment to VMM through DMAR
ACPI tables.
A screenshot like the message on the screen will look like this:
Activating VT-d
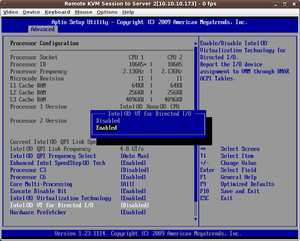
We will enable VT-d in the next step.
Activating VT-d Additional Options
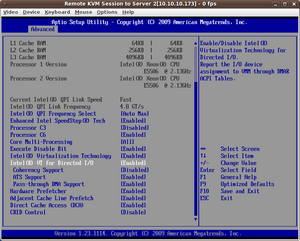
Enabling VT-d opens three additional options:
- coherency support (enable/disable Intel(R) VT-d coherency support, disabled by default)
- ATS support (enable/disable Intel(R) VT-d address translation services (ATS) support, enabled by default)[1]
- Pass-through DMA Support (enable/disable Intel(R) VT-d pass-through DMA support, enabled by default)
This screenshot shows these options.
Supermicro X8DT3-F Example
We will show a server with a Supermicro X8DT3-F motherboard and two Intel Xeon X5680 CPUs in this second example.
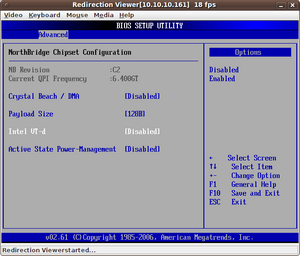
Deactivating VT-d
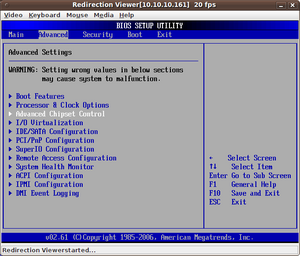
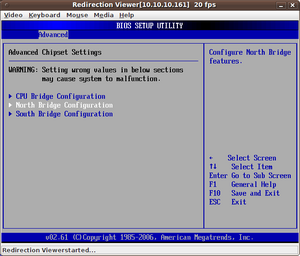
VT-d is disabled by default. You will find the setting for VT-d in the BIOS under Advanced --> Advanced Chipset Control --> North Bridge Configuration --> Intel VT-d.
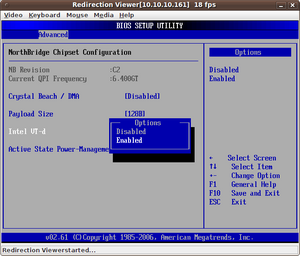
Activating VT-d
We will enable VT-d in the next step.
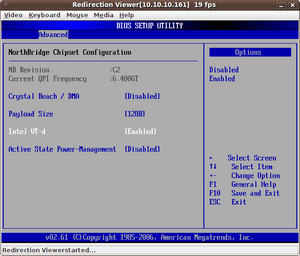
Activated VT-d
VT-d has now been enabled.
References
Additional Information
|
Author: Werner Fischer Werner Fischer, working in the Knowledge Transfer team at Thomas-Krenn, completed his studies of Computer and Media Security at FH Hagenberg in Austria. He is a regular speaker at many conferences like LinuxTag, OSMC, OSDC, LinuxCon, and author for various IT magazines. In his spare time he enjoys playing the piano and training for a good result at the annual Linz marathon relay.
|
