Supermicro IPMI Configuration through BIOS or Web Interface
This article will describe the network configuration for the Full Remote Management of the Supermicro X8DT3-F by using the BIOS or the web interface. Full remote management includes the Intelligent Platform Management Interface (IPMI), a web interface for maintenance and configuration and Keyboard - Video -Mouse (KVM) over IP.
BIOS Configuration
To configure the network settings for the IPMI module in the BIOS, you must first start the server and enter the BIOS. To do this, re-boot the server and press Del (for Supermicro motherboards) during the Power-On Self-Test (POST).
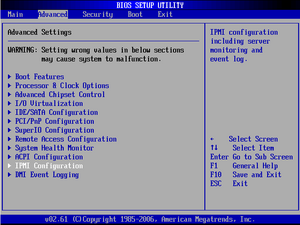
Subsequently, after completion of the POST, the main screen of the BIOS will be displayed. The IPMI Configuration item will be located on the Advanced tab.
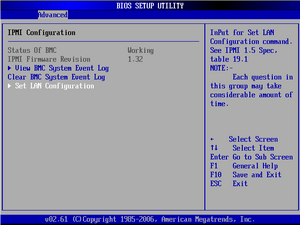
If you select this item using the Enter key, the IPMI configuration screen will be displayed. Status of BMC indicates if the IPMI is running. If it is Working, everything is as it should be. If this is not the case, turn off the power to the server and re-boot it. The module will then be re-initialized and function properly. The firmware version and the event log can also be read from here.
To set the network settings, simply select Set LAN Configuration.
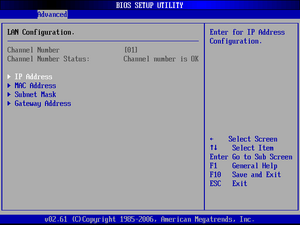
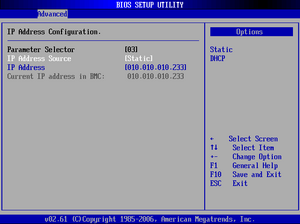
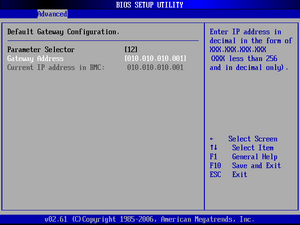
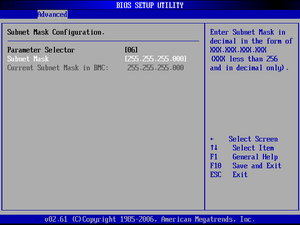
The individual network settings will then be displayed.
The IP address, the gateway, the subnet mask and, as needed, the MAC address can be read and configured. As a rule, the MAC address should not be changed.
Simply adjust the settings as desired and then exit the BIOS screen using the F10 key and accept the changes.
Web Interface Configuration
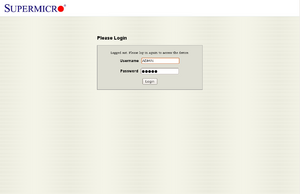
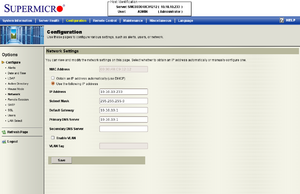
In principle, setting the network options is the same from the web interface, except that configuration options will be presented as a form. First, the IP address for the pre-configured IPMI module must be given to the browser. Then, the login page will be displayed. The default login information is:
- User Name: ADMIN
- Password: ADMIN
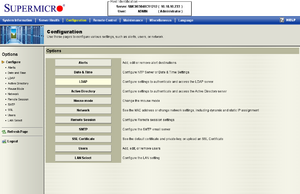
The Network item will be found on the Configuration tab.
From there, the form can be filled out as desired. Afterwards, save it using Save. Restart the IPMI module and then it will only be accessible using the newly set IP address.
